installation_fp_sci
This is an old revision of the document!
Table of Contents
Installation of focal-plane scintillator
Vent focal-plane chamber
- Open the HV Remote Control GUI and ensure that the focal-plane detectors are unbiased
- Open the Labview gas handling system and verify that there is no gas in the CRDCs and IC. Open valves 4 (IC supply), 5 (IC bypass), 6 (IC focal-plane bypass), 20 (CRDC supply), 21 (CRDC bypass), and 22 (CRDC focal-plane bypass). The rest of the valves should be closed
- Open PanelMate and select S800vac file in directory \\exp\files\control\ncsdata\General\Qt\Templates. Go to page 07, click on the VENT STATUS window and begin the venting procedure. The VENT VALVE I260VV window will turn red and display “OPEN”. The pressure should remain constant because the manual venting valve is still closed
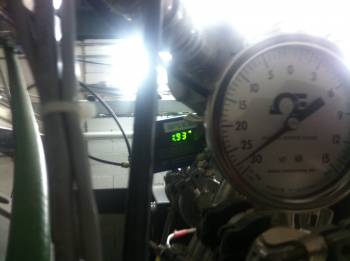
- Wait until the chamber is vented (few hours). The I261PG Pirani Gauge should read atmospheric pressure. The window VENT STATUS in PanelMate should display “VENT VALVE OPEN”. The window PUMPDOWN STATUS should display “PUMPDOWN STOPPED”
Open focal-plane chamber
Installation of FP scintillator
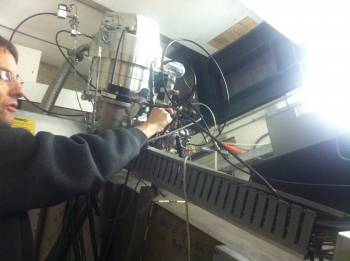
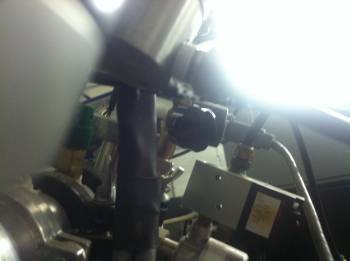
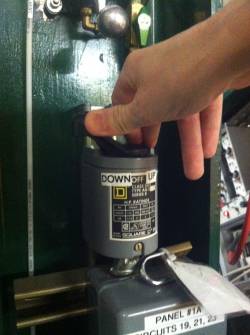
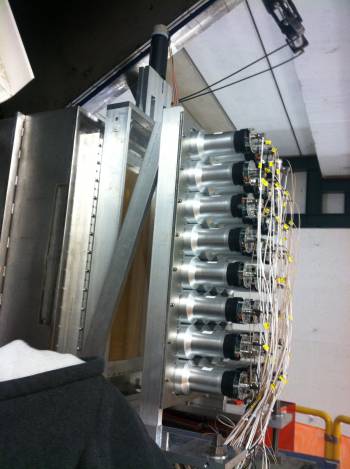
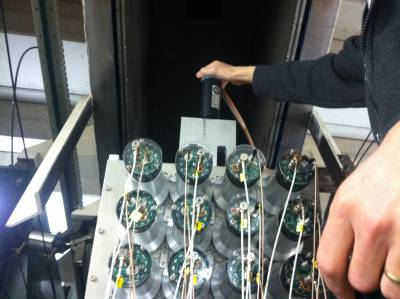
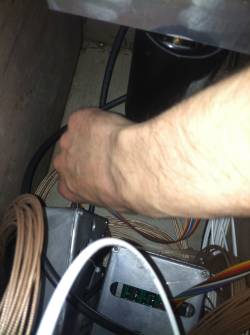
- Unplug the bases of the up and down phototubes. The tie holding the cable of the up phototube needs to be cut
he first step to do is unplugging the up and down bases of the phototubes
In order to remove the “old” scintillator, we need first to u
Click Vent status [start pumpdown] –> vent status= pumpdown in progress (blue)
installation_fp_sci.1430757824.txt.gz · Last modified: 2015/05/04 12:43 by pereira

